
First and foremost, make sure you are booking with a company that can provide you a small-group experience. Yes, they may promise one but make sure to ask if there are any alternates if the main, Crystal or also known as Sapphire, the cave is packed. Some companies have other caves they can visit if the guides have the proper training and guests are given the correct gear. We offer the Blue Ice Cave Tour which fits the bill, but let’s continue with the guide.

So you get your small group tour and you are in the cave. You give your camera to the guide and tell him to push the shutter…and click.

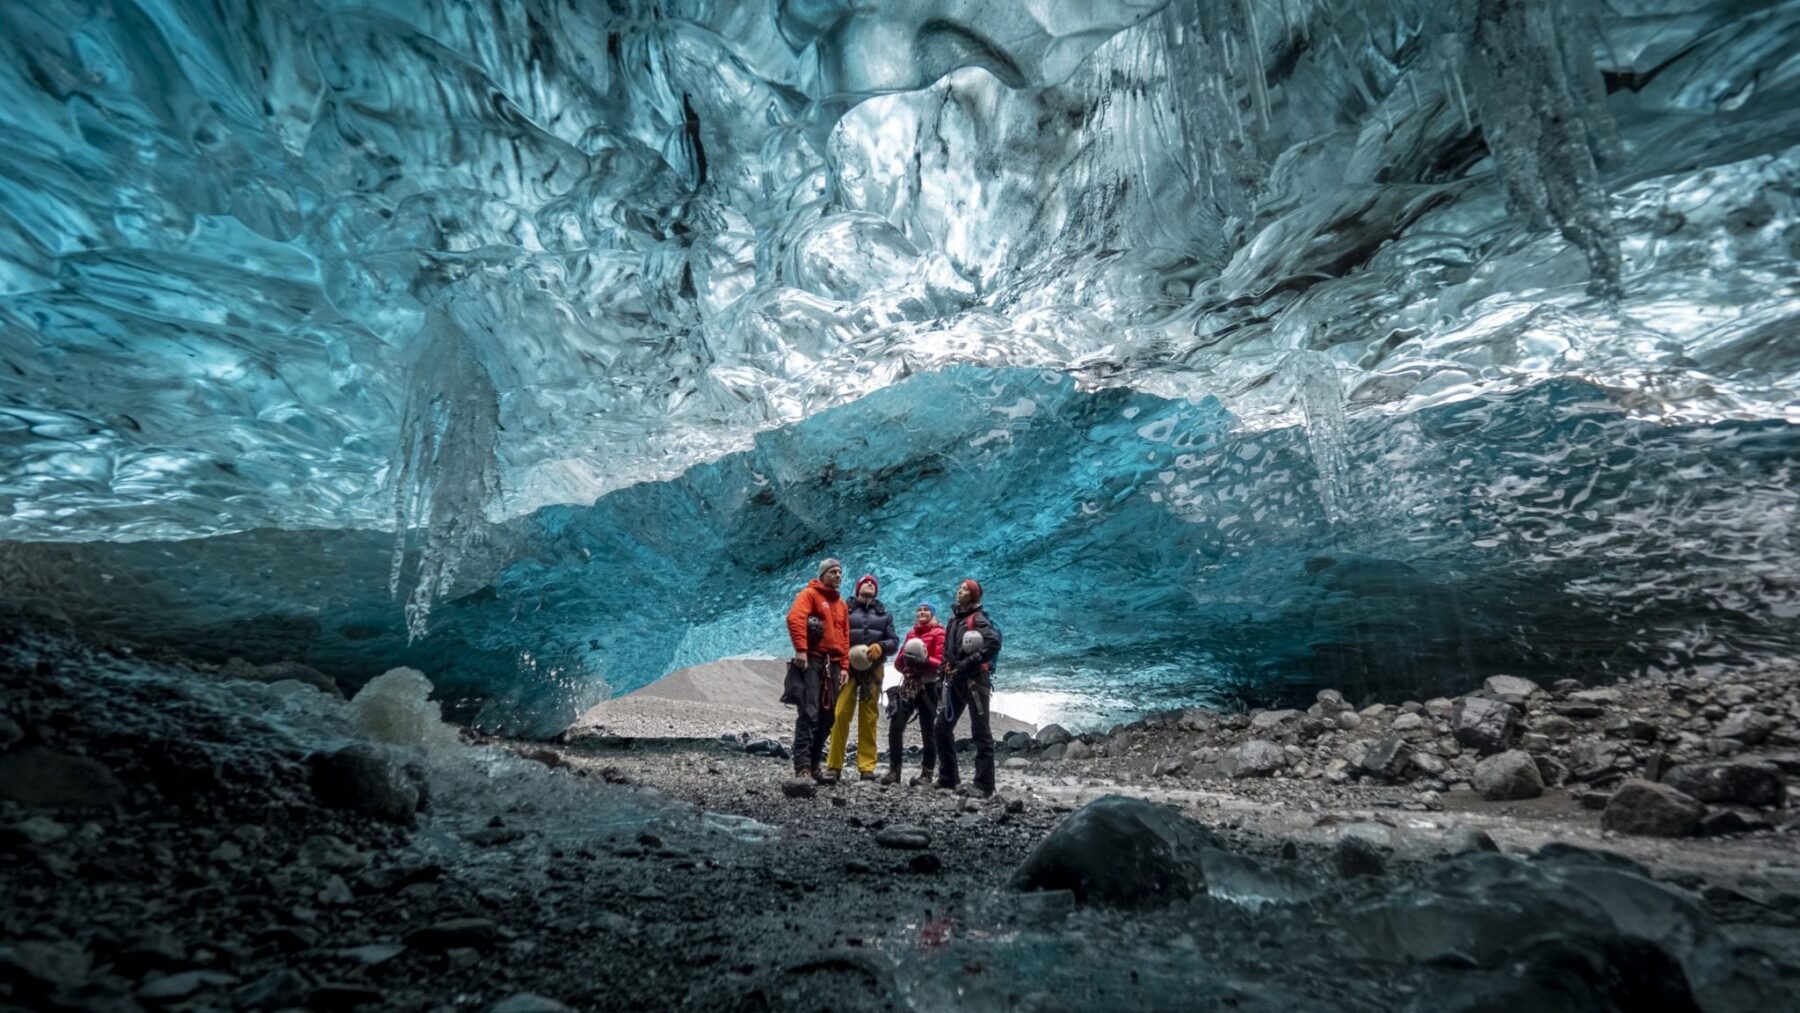
And this is what you see ?!
Looking at the photo in your display, you ask yourself:
Where are the crystal blue colors? Why are we so dark? Why is this such a poor photo?
First, let’s talk basics and start with moving the dial away from ‘auto’ and entering the world of ‘manual’ control. This setting allows a few key things:

Manual control of ISO
Manual control of shutter speed (with Tripod)
Manual control of aperture
Manual control of white balance
Shutter delay
Manual control of ISO: This is a very important part of the process and helps you avoid a grainy picture. ISO generally is the power given to the sensor to capture light. The more power, the more artifacts or ‘grainy’ the photo looks. Generally in the cave, I do not go above 400 and NEVER go above 800.

Manual control of aperture: Many people want to keep their aperture wide open (a low number like 2.8) but depending if you have things both in the foreground and background, you may want to close your aperture to F9 or even F11. This process of making sure both the foreground and background are in focus is often referred to as to hyperlocal distance. Watch this video. I personally use ‘doubling the distance method’ which is explained in the video.
Manual control of the shutter speed: This will vary on a few factors (amount of light, ISO and aperture). Ideally, you want to keep it as low as possible but given the inherent darkness of the caves, I typically find myself in the range of about 2-3 seconds for a properly exposed photo. Make sure you are looking at your light meter in case you need to increase or decrease the shutter speed.
White balance: You may want to consider manually setting your white balance. This process differs from camera to camera but I use the Kelvin scale and set it to around 6700K. If you cannot do manual shite balance, most likely it will be okay to use auto.

Shutter Delay: After you do all these settings and you push the shutter and at that instant, the camera begins the process of taking the photo, you pull your finger away. Well, my friend, you were too late and I can almost guarantee you added movement to the frame thereby making your picture look blurry. The salutation is to add a shutter delay which adds a delay from the moment you push the shutter to the time the camera starts the process of taking the photo. I use a 1-second shutter delay.
For easy smartphone photos please find below tutorial material
Blog: Taking good ice cave photos with a smartphone
YouTube: How to take Ice cave photos with mobile phone